For many, sipping coffee out of toasty mugs and savouring its aroma has become a daily ritual. And it feels good, right? So good that often it’s the only way we’d like to start our day!
But have you ever sipped on a cup of coffee and thought that it could have tasted much better? I think we have all been there, at least once.
Usually, we evaluate coffee according to the metric of our preferences. But ‘coffee cupping’ is a very different way of coffee tasting to judge how good it is.
Built upon centuries of expertise, coffee cupping is the process through which producers and buyers check the quality of a batch of coffee.
It is actually quite serious; there even are world championships for it! There is a whole process for scoring the coffee, from checking its freshness to tasting its notes.
Our short, snappy, and no-nonsense ultimate guide is though, just what you need to find out about everything coffee cupping – so let’s jump right in!
What Is Coffee Cupping?
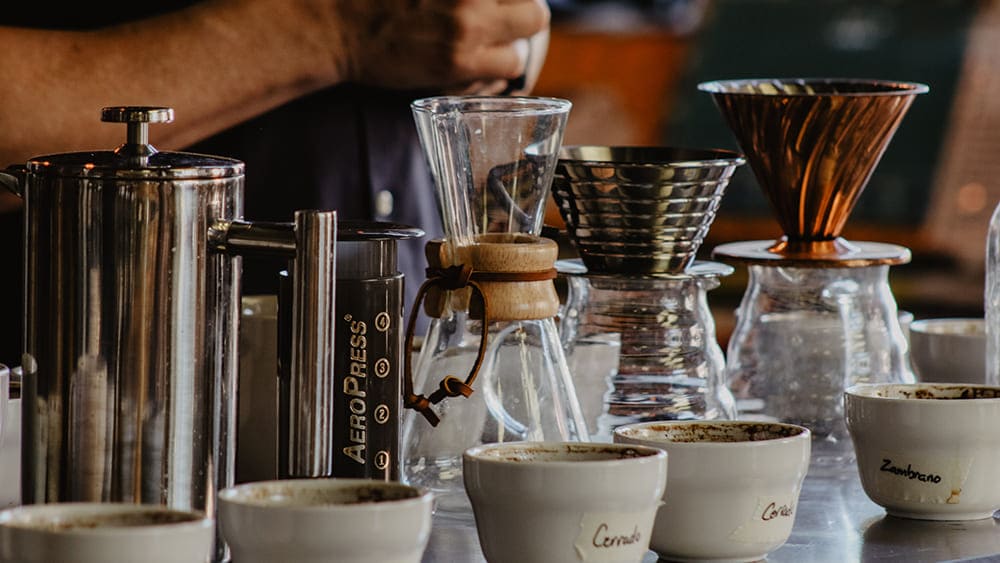
Coffee Cupping is a quantifiable method for assessing a coffee sample including its overall quality, individual characteristics like body and acidity, and flavour notes.
This process ensures that all of the facets of coffee are fairly judged through precise movements and ratios.
Cupping coffee is usually used by coffee buyers and roasters, but sometimes cafes also use it to select the beans they’d like to offer to customers.
It’s also a great way for coffee amateurs to increase knowledge, refine their palettes and discover new types of coffee to enjoy! But the real question now is, how does it work?
Let’s find out!
How To Cup Coffee in 2022?

You might be thinking that coffee cupping is just about giving the beverage a swirl and sipping on it to articulate its flavours. But that’s not true.
There is a lot that goes into it. To cup coffee the right way, there is actually a whole process in place.
Simply put, it includes steps like scoring the coffee, sniffing the coffee grounds, breaking the crust, slurping, and assessing the flavour notes.
But if you’re trying to level with the coffee snobs and really want to get the gist of it, here’s the complete 101 on cupping coffee the right way.
And if you’re doing it at home, make sure you stack up on one secret ingredient – enthusiasm! Yes, make sure you learn and have fun while at it.
Coffee Cupping Basics: What You Need To Know

So let’s start with the very basic plan. For coffee cupping, you will need to stack up the essential tools and ingredients. And then, you just have to follow our step-by-step instructions.
But hey, step on the brakes for a while, and let’s absorb some coffee cupping basics that you need to know before you start.
Remember; it’s always critical to get your concepts right! Get in on the cupping action once you know the basics.
1. Beans and Roast Types
a. Bean Type
Always opt for single-origin beans so you can spot differences in beans grown in different areas, easily.
b. Roast Type
As a general rule of thumb, it’s recommended to stick to freshly and lightly roasted beans. The roast level can interfere with the flavour and aroma of the beans.
Note: If you’re wondering which beans to sample, I recommend choosing the best coffee beans UK i.e. beans from Balance Coffee!
2. The Official Coffee Cupping Ratio
You’ll notice that different tutorials suggest different coffee cupping ratios. While the Specialty Coffee Association recommends 8.25 grams for every 150 ml of water, don’t worry too much about the ratio.
It’s just vital to stay consistent and stick to the ratio that you have chosen.
3. Grind Size
For cupping coffee, you’ll want to grind your beans to a medium-coarse grind.
4. Prime The Grinder
During the cupping process, you have to make sure no foreign flavour finds its way in. This means that there should be no residual coffee grounds left in the chamber!
For this, you need to prime the grinder. Just throw in a batch of the beans that you plan on using, in a clean grinder and grind them up.
It will now be lined with fresh bean coffee leftovers and you are good to go.
5. Use Well-Filtered Water
Well-filtered water or Third Wave Water with perfectly balanced minerals will give you a good cupping experience.
Cupping Coffee Tools and Ingredients

Ready for some cupping action? Make sure you’re stocked up with all the necessary tools and ingredients!
Here’s what you’ll be needing:
- Two or more coffees (of single-origin and ensure they’re as fresh as possible)
- A clean and well-lit table space
- Grinder (ideally a quality burr grinder)
- Scale (for measuring coffee weight)
- Timer
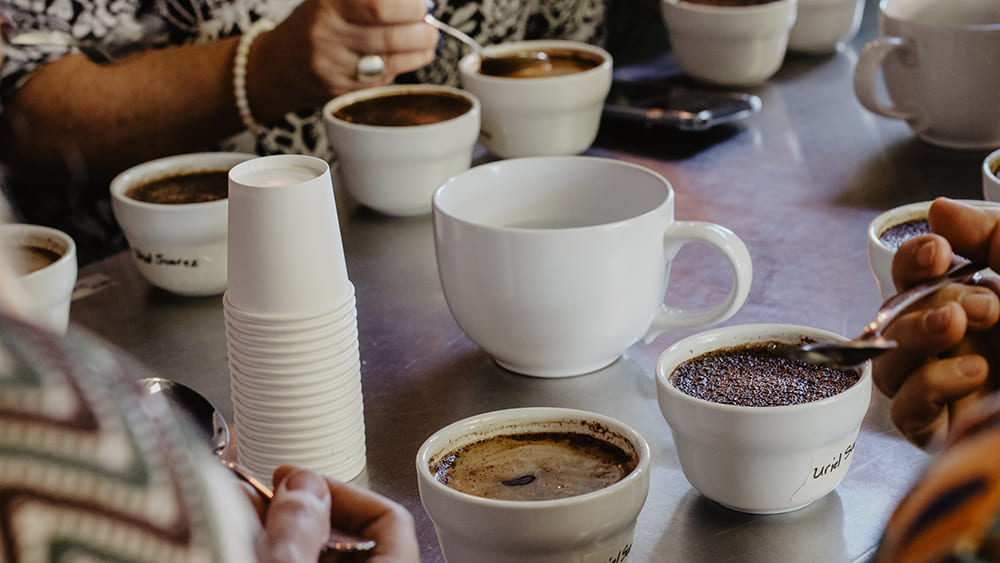
- Cupping bowls (measuring capacity should be 160ml-200ml)
- Rinse cups filled with hot water
- Cupping spoons
- Hot water element
- Vessel (to collect used coffee grounds)
- Mug or glass (to hold cupping spoons)
- A pencil and paper
Once you’ve checked off all of this equipment on the list, head on to our step-by-step guide with complete instructions on coffee cupping.
How To Cup Coffee: The Step by Step Guide

Alas! It’s finally time to level with the coffee snobs and learn how to cup coffee on your own.
Step # 1: Prime and Grind!
Remember how we talked about priming your grinder? Do that first and with 2 grams of your first coffee. Then proceed to grind the remaining 18 grams of coffee.
You will have to repeat this process for each coffee, making sure the vessel is clear of any other flavour influence every time. Grind each coffee to a coarse setting.
Step # 2: Assessing The Dry Fragrance
Add each coffee sample of 9 grams into designated cupping bowls, using two bowls per sample.
Now, take a few good whiffs and assess the fragrance of each coffee. Jot down anything that stands out for you.
Step # 3: Heat Your Water
Heat your water to a temperature of 200 degrees Fahrenheit.
Step # 4: Add Water
Begin pouring 150 grams of water into each bowl and make sure to turn on the timer as you start!
Step # 5: Assess The Wet Aroma
Now breathe in and assess the wet aroma of each coffee – make sure you enjoy it while at it!
Don’t forget to take notes as you go around sniffing your coffee. Write out the things that really jump out at you in terms of aroma.
Step # 6: Break The Crust
After three to four minutes, you need to break the crust by pushing the coffee grounds to the back of the bowl. Why is this step necessary, you ask?
There is a concentration of volatile aroma molecules right under the crust and disturbing it will give you the most aromatic experience!
Use different spoons for each bowl.
Step 7 #: Tasting Your Coffee
Now for the fun part; it’s finally time to give your taste buds a welcome surprise! But before you slurp the beverage, remove the foam and remaining coffee grounds from the top and add them to the spent coffee bowl.
Also, allow the coffee to cool down and begin tasting after 13-15 minutes.
Step 8 # : Cupping in Action!
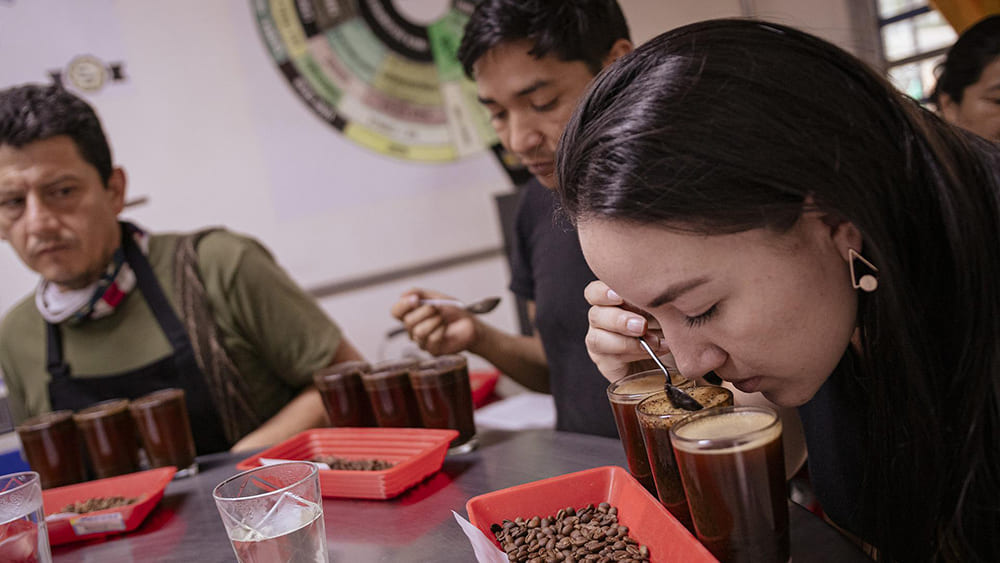
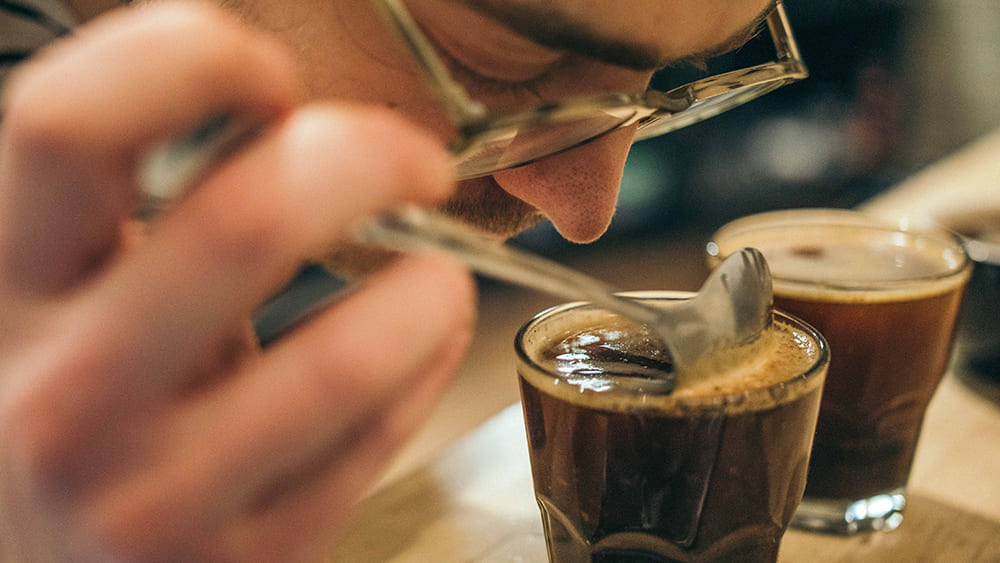
Now, ladies and gentlemen, it’s time for the real action. Slurp your coffee, allow it to blanket your tongue, and taste the full range of flavours.
The goal here is to aerate the coffee and spread it evenly over your tongue, to get the maximum amount of flavour and aromatic payload.
Spend some time and ponder about how the coffee tastes in your mouth. Take several sips and evaluate the taste and finish – take notes.
How does it taste? Smooth, light, and silky? Or is it heavy and oily? Think along those lines.
Focusing on specific flavour notes is one of the most crucial steps so make sure you’re taking your time with it.
Step # 9: Rinse and Repeat
After each session of cupping coffee with the spoon, make sure you rinse both, the cupping spoon and your palette thoroughly.
This is to prevent the cross-contamination of flavours and to let you enjoy every sample’s unique flavours and taste.
Coffee Tasting Methods/Techniques & Words Used
You must have noticed a few words being thrown around in coffee cupping guides like ‘aroma’.
Don’t let the jargon of the cupping process puzzle you, here’s a quick debrief on the different techniques and terms that are usually used.
Aroma and Fragrance
The fragrance is of dry coffee while the aroma is of your wet coffee. It simply means, how did the coffee smell? Was there any notable difference between the dry fragrance and wet aroma of each sample?
Flavour
Easy. This just refers to what the coffee tasted like. Did you pick up any notes of fruitiness, earthiness, or nuttiness in the flavour?
Aftertaste
What elements of aroma and flavour was your palette tingling with after tasting and smelling the coffee?
Acidity
Acidity is simply the brightness or sourness of the taste. Was the coffee bright and sharp or was it dull and flat? Was it sour?
Body
This is the weight or tactile feeling of the coffee that you feel on your taste buds. Was it light or heavy?
Balance
Balance is how levelled the characteristics of coffee are. Is there one note that stands out or do all of them neutralize each other?
Cleanliness
You must have heard coffee fanatics discussing how ‘clean’ the coffee was. This refers to how quickly the taste dissipates after you swallow it.
Does it linger or go away right after you taste it?
So here was the complete 101 on coffee cupping! But if you’re still feeling a little lost in the process, head over to this quick video.
FAQ
- What does cupping mean in coffee?
Simply put, cupping coffee is the process used to evaluate, taste, assess, and compare the flavour and quality of a given coffee. The purpose is to sample different coffees to determine their flavour notes and highlights. While its usually used by professionals, individuals can also use it.
- What is a good coffee cupping score?
Generally, any score between 80 to 90 is considered to be a good coffee cupping score. However, as per the coffee cupping process, going from 80 to 90 does not represent a linear progression in the score. The higher the score, the harder it is to have consistency.
- Do I need a cupping spoon?
Getting a special cupping spoon is not necessary if you have spoons that are deep and wide. But getting a cupping spoon can serve multiple purposes. Cupping spoons have deep bowls which allow you to get an adequate amount of coffee during the cupping experience.
- Can you do cupping at home?
Yes, you can do cupping at home. However, cupping is generally used by coffee professionals to assess the quality of a batch of coffee. Cupping at home is one of the best ways to learn more about the flavour, and aroma of coffee. It helps to increase your coffee knowledge.
- Is cupping scientifically proven?
No, cupping is not scientifically proven. But coffee professionals generally consider the coffee cupping process to be scientific in process. This is because, during the process, different coffee samples are evaluated followed by an eventual comparison. This determines its flavour notes and highlights.
Wrapping It Up
I am pretty sure that finding out everything about the cupping process must have given you a newfound appreciation for a good cup of coffee.
While you can start your coffee connoisseur journey today with the cupping experience, it takes time to really become a professional.
Sampling the many subtleties of coffee during the cupping process can expand your palette and knowledge. Probably the best part about cupping is the immersive experience in the world of coffee aromas and flavour notes!
Also, the interesting bit is that the cupping process is different for everyone. It’s possible that you pick up on different characteristics than the person next to you!
In the end though, this will help you brew a cup a perfect and rich cup of coffee at home.
